Create your first work in Simple mode
You can complete a work without a lorebook, components, or optional items. This page follows the example work Underground Seoul and fills in only the fields you must, all the way to Done.
- 1 image to show in chats (JPG, PNG, WEBP, GIF, HEIC · up to 5MB)
- Notes on your story setting and characters. If you don't have any, you can write the example below as it is.
| Step | Screen | What to fill in |
|---|---|---|
| 1 | Basic Info | Title, one-line description, story setting, characters |
| 2 | Assets | One image and its situation description |
| 3 | Intro | The opening title and the first message |
| 4 | Settings | Genres, hashtags, and five required items |
| 5 | Lorebook · Components · Optional | Leave empty and move on |
| 6 | Done | Make the work |
1. Fill in Basic Info
When you select Create in the bottom menu, the Basic Info step opens first. Check that Creation mode at the very top is set to Simple mode.
- Write the Title. It can be up to 30 characters.
- Write the One-line description. It's the sentence shown with the title on the work card. It can be up to 40 characters.
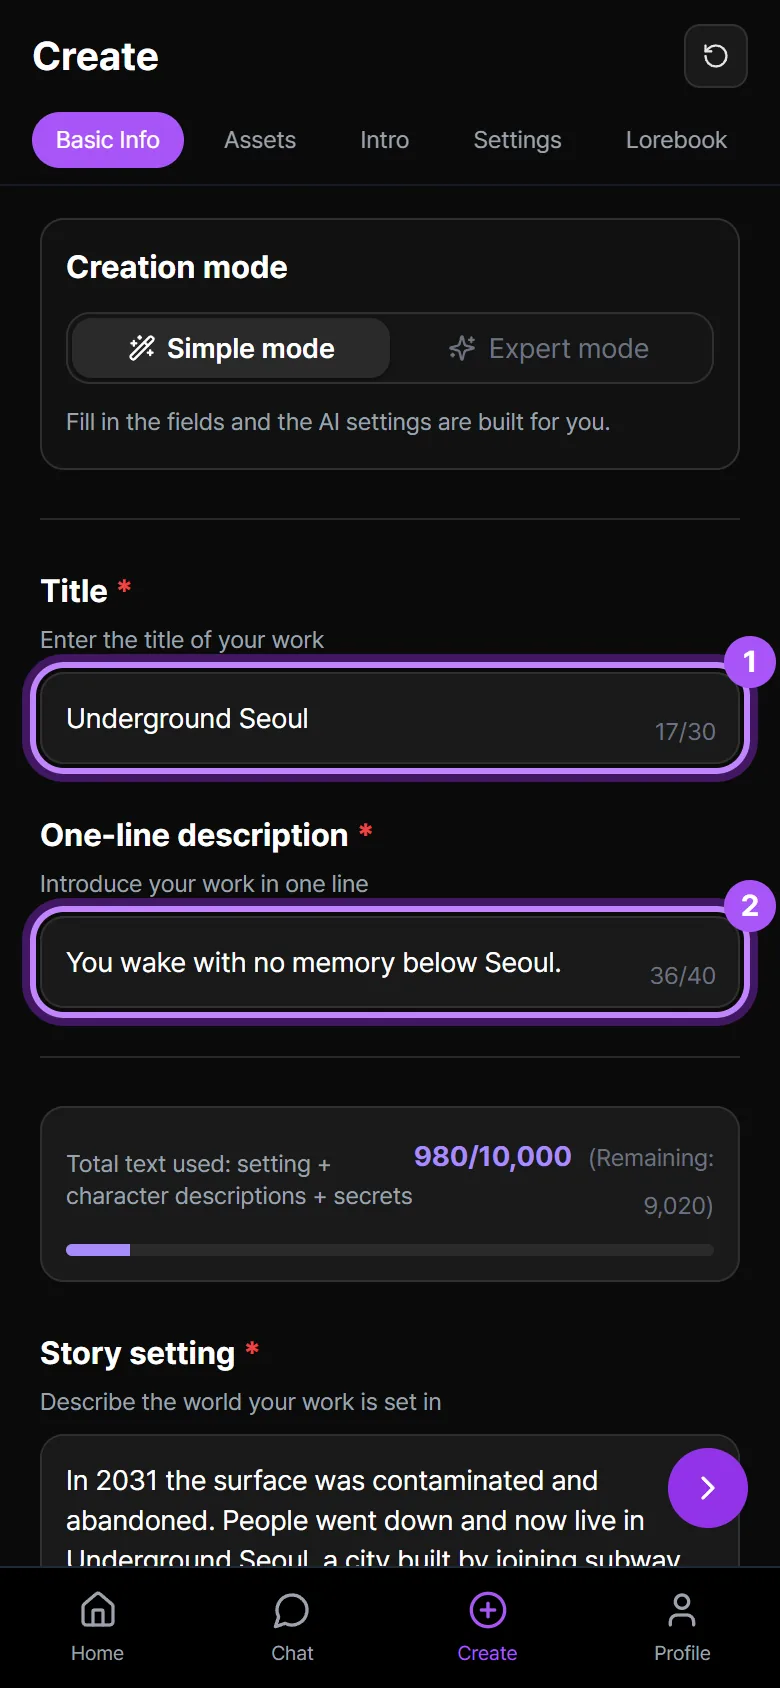
Example — Title:
Underground Seoul· One-line description:You wake with no memory below Seoul.
In Story setting, write the setting of the work and how the story begins. The AI reads it, and if you don't write a description, the work page shows it as it is. So write only what users are allowed to know.
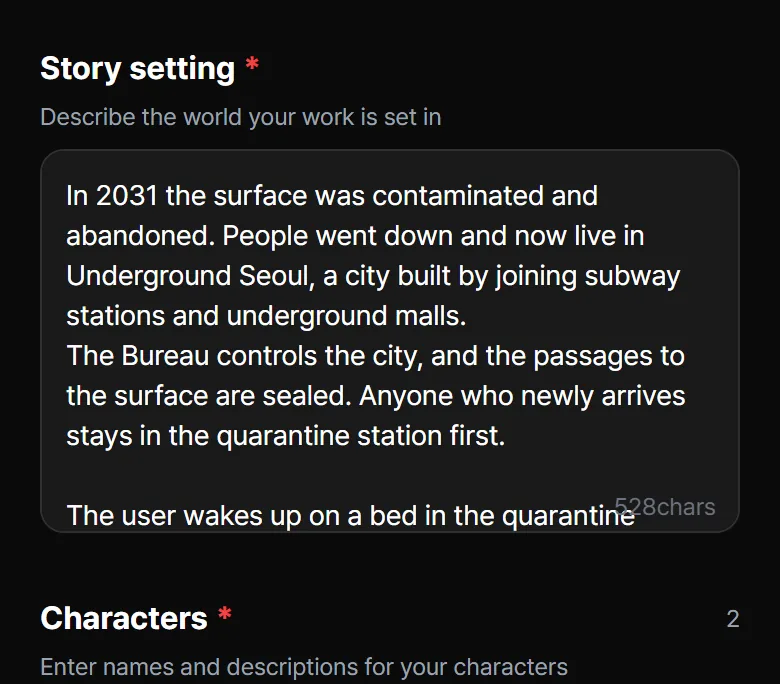
In 2031 the surface was contaminated and abandoned. People went down and now live in Underground Seoul, a city built by joining subway stations and underground malls.
The Bureau controls the city, and the passages to the surface are sealed. Anyone who newly arrives stays in the quarantine station first.

The user wakes up on a bed in the quarantine station with no memory. The story begins as Min-woo guides the user out of the station, and when the user tries to recover their memory, Seo-yeon hands over clues one at a time.
You need at least 1 Characters entry. Select Add Character and write a name and a description for each one. The names must be different, and the description covers personality, background, and traits.
Secrets are settings users must not see. They're optional, but if there's a twist or a hidden backstory the AI needs to know, write it here. Secrets don't show on the work page.
Story setting, character descriptions, and secrets add up to 10,000 characters at most. The bar above the Story setting field shows how much you've used.
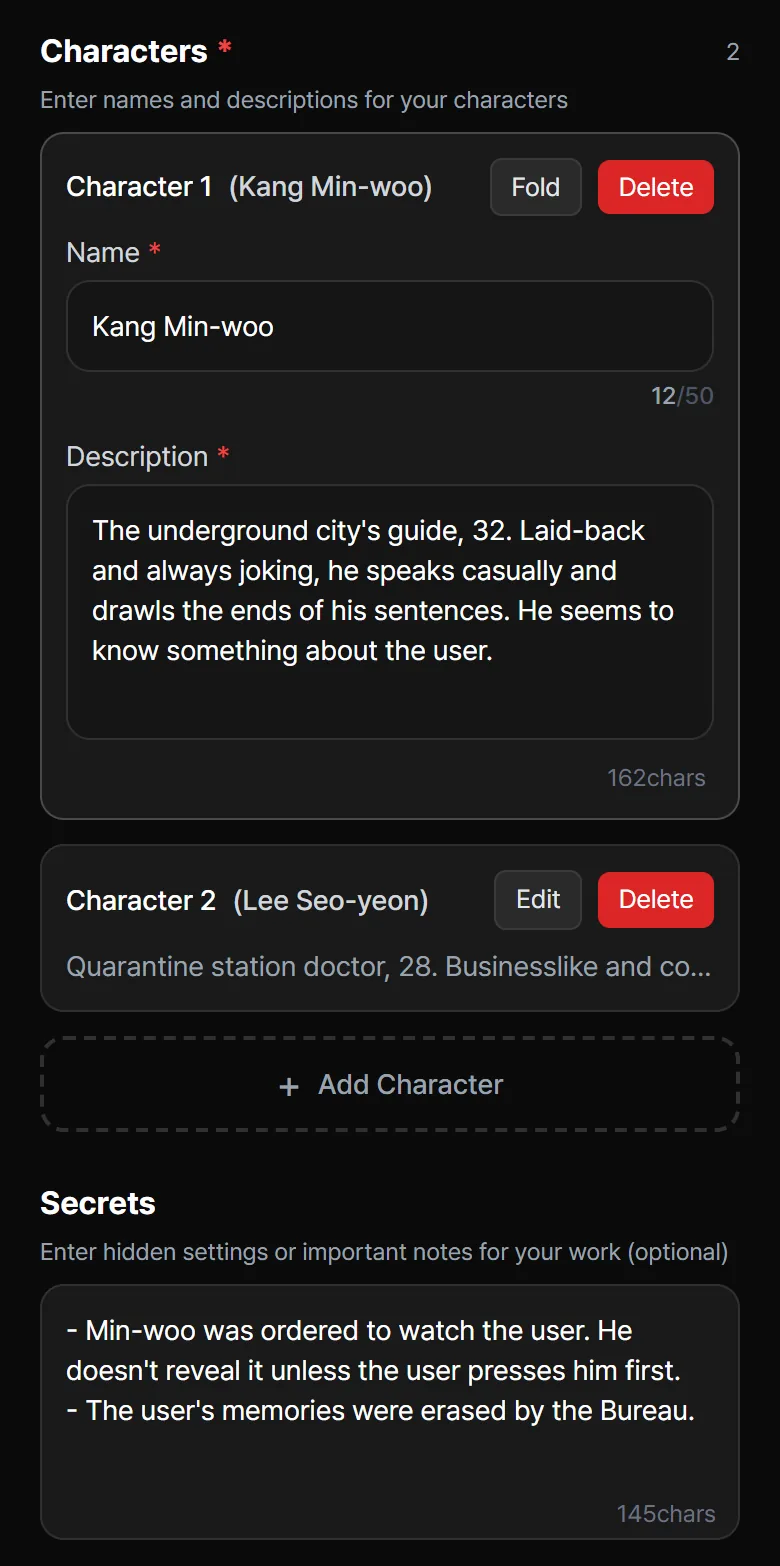
These are the example characters. The descriptions can also show on the work page, so nothing that must stay hidden from users is in them.
| Name | Description |
|---|---|
| Kang Min-woo | The underground city's guide, 32. Laid-back and always joking, he speaks casually and drawls the ends of his sentences. He seems to know something about the user. |
| Lee Seo-yeon | Quarantine station doctor, 28. Businesslike and cold, she speaks in short, formal sentences. She suspects the user's memory loss was no accident. |
What must not be revealed to users goes in Secrets.
- Min-woo was ordered to watch the user. He doesn't reveal it unless the user presses him first.
- The user's memories were erased by the Bureau.
When you've written it all, select the > (Next) button at the bottom right. This is when the work is first saved.
2. Add assets
In the Assets step, you prepare the images to show in chats. One is enough for your first work.
- Select Add Asset.
- Select File Upload and choose an image.
The first image you upload automatically becomes the work's profile image. To make images in MYMI yourself, see Assets and AI images.
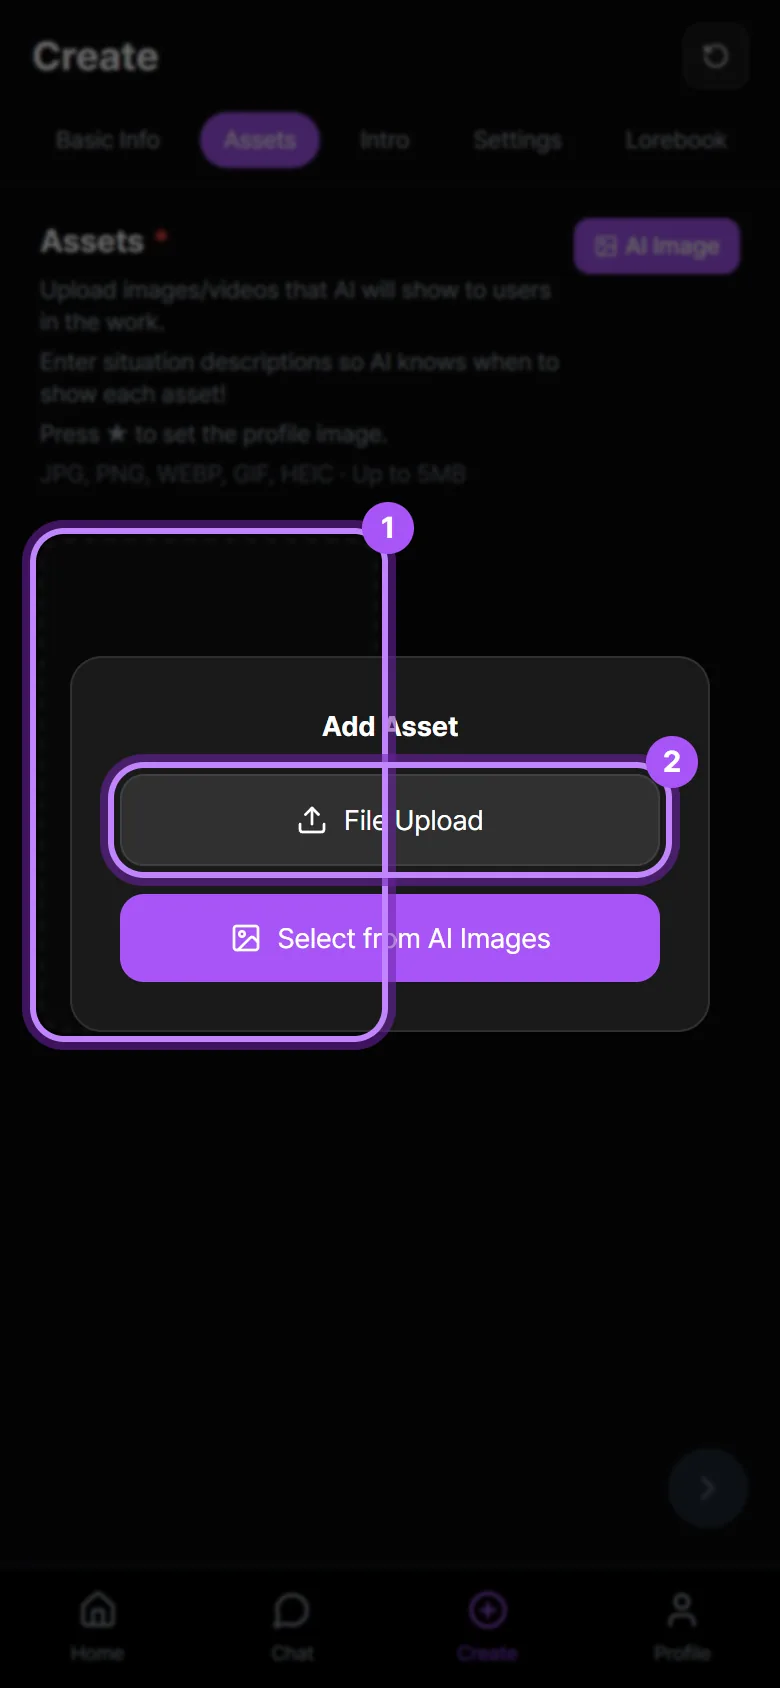
- Select the image to open the Enter Description window.
- In Select Character, choose the character in the image. A background image with no character is Shared.
- In the description field, write what scene the image shows (up to 60 characters) and select Save. Be sure to include the character's name in the description.
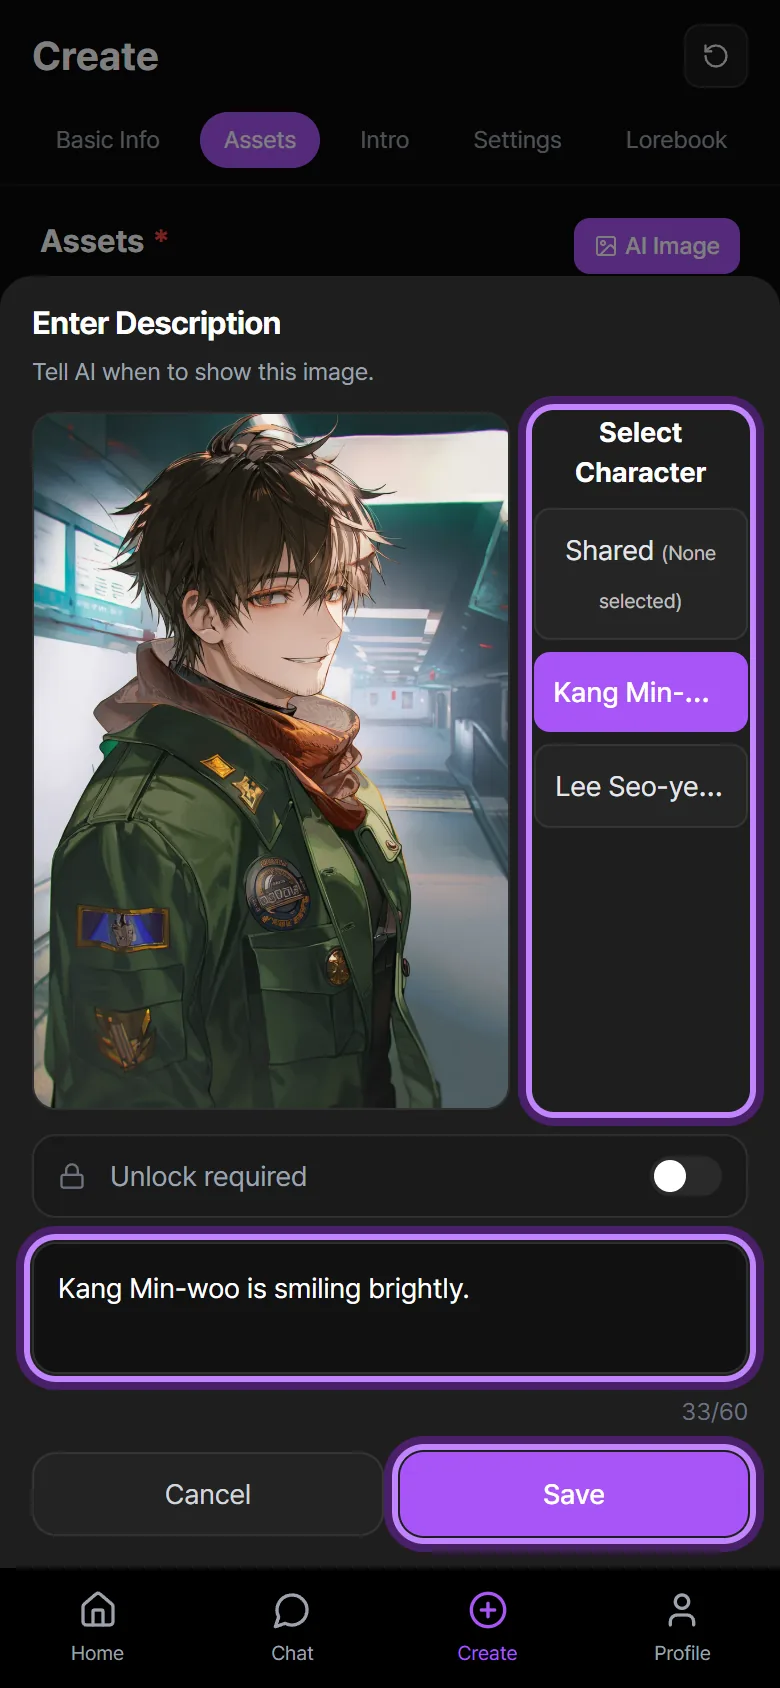
Example — Character:
Kang Min-woo· Situation description:Kang Min-woo is smiling brightly.
The AI reads this situation description to choose which image to show during a chat. Every image needs a description before you can move on with the next button.
3. Write the intro
The intro is the first message the AI sends when a chat starts.
- Write the Opening title. It's the name users see when they pick a starting scene.
- Write the first message in the field below. It can be up to 2,000 characters. Put actions and narration between
*asterisks*and dialogue inside"double quotes", and they look the same as in a chat. - Check how it will look in the chat in Preview below the field.
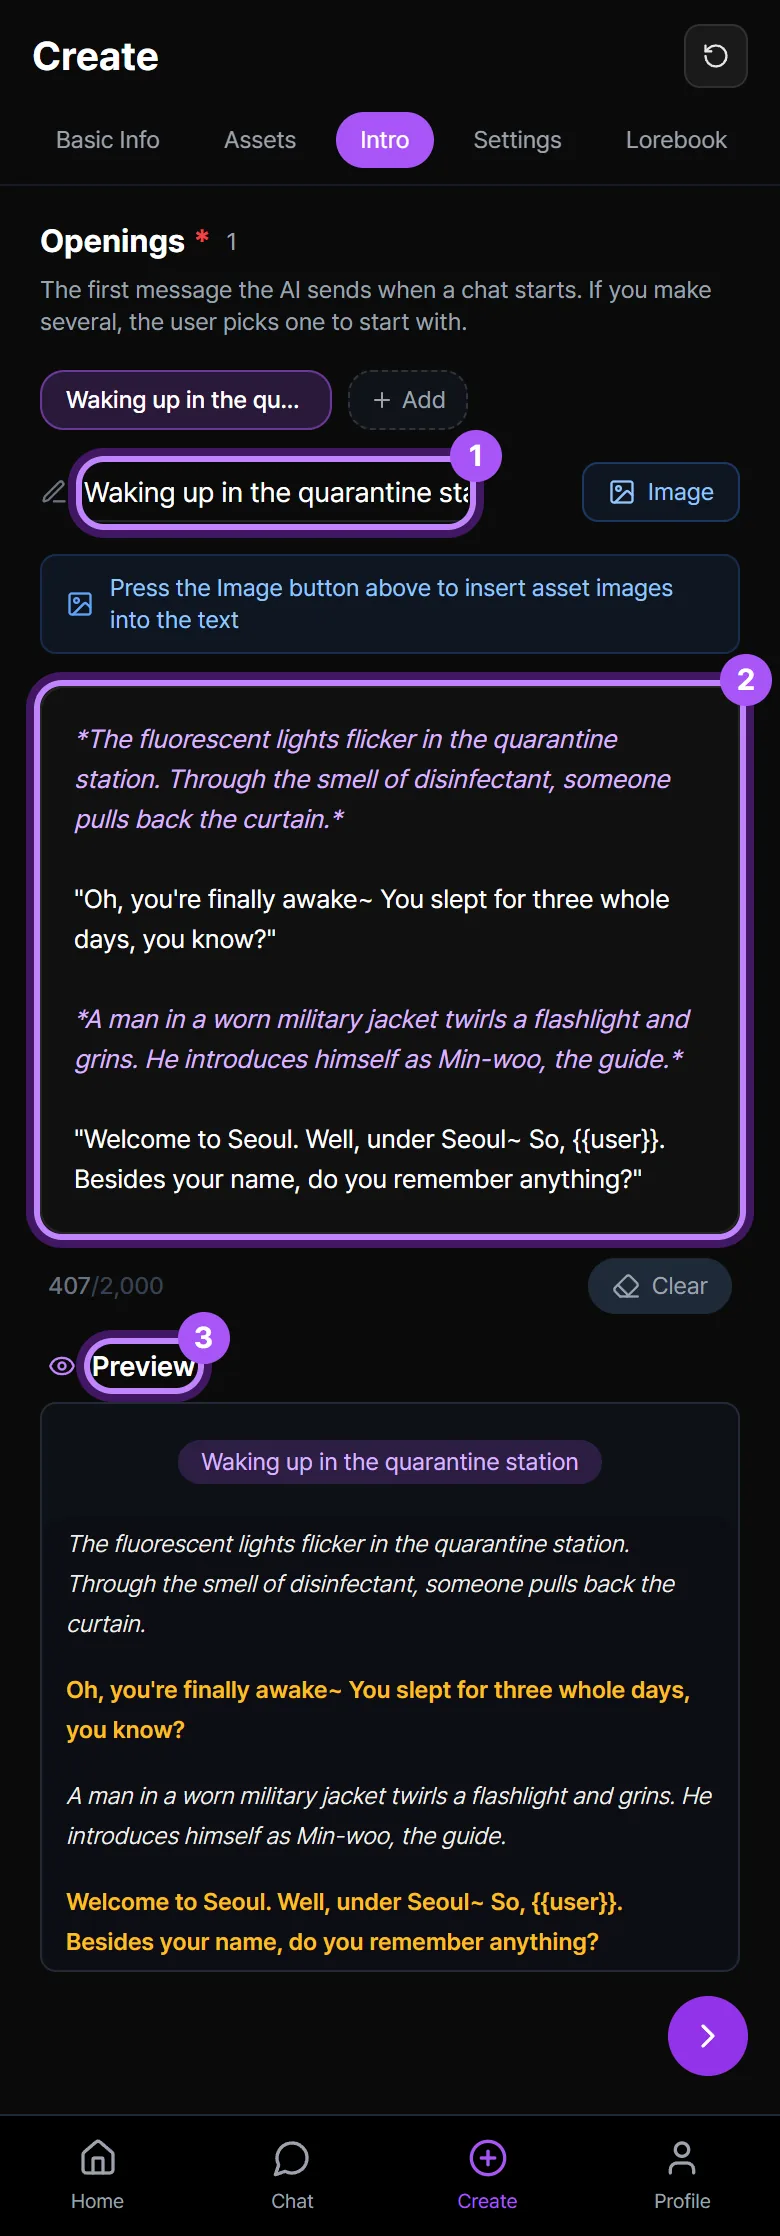
Example — Opening title:
Waking up in the quarantine station
*The fluorescent lights flicker in the quarantine station. Through the smell of disinfectant, someone pulls back the curtain.*

"Oh, you're finally awake~ You slept for three whole days, you know?"

*A man in a worn military jacket twirls a flashlight and grins. He introduces himself as Min-woo, the guide.*

"Welcome to Seoul. Well, under Seoul~ So, {{user}}. Besides your name, do you remember anything?"
{{user}} in the intro turns into the user's name when they chat. In the preview it shows as it is. How to put images in the intro is in Assets and AI images.
4. Choose the settings
In the Settings step, choose every item marked with a red *. Start with Genres and Hashtags at the top.
- Choose 1–2 Genres. The example uses Sci-fi and Mystery & thriller.
- Select Hashtags to open a sheet. Pick from the list, or write in the Type your own field and select Add. You need at least 1. When you've picked them all, select Done.
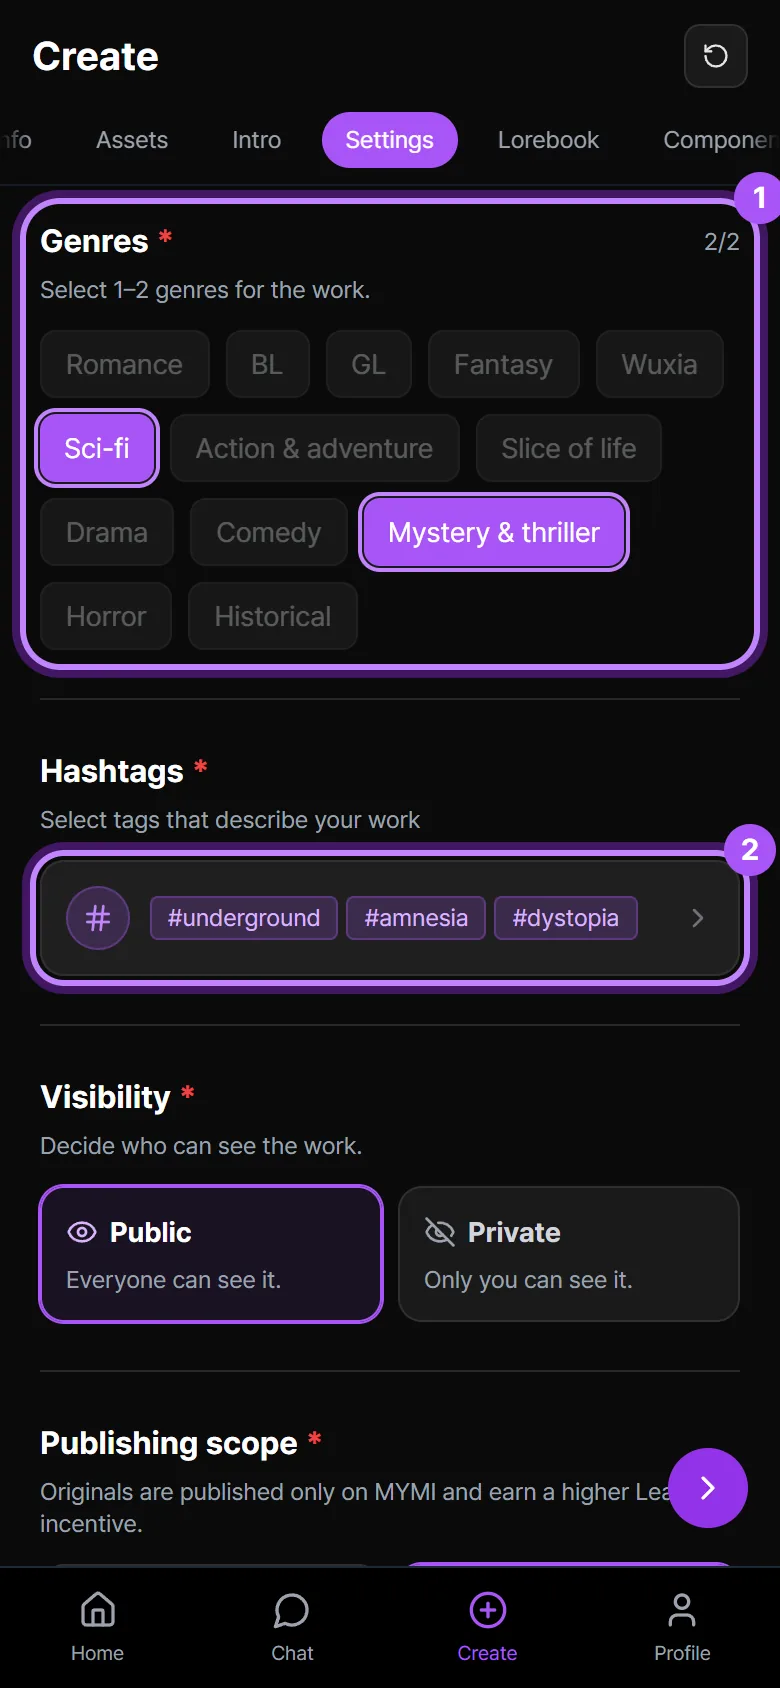
Example — Hashtags:
underground,amnesia,dystopia
AI Recommend in the hashtag sheet reads the title, story setting, characters, and secrets and picks tags for you. The tags you already chose are replaced by its recommendations, and the audience may change along with them. After you use it, check the tags and the Audience again. It only works after you've written the title and story setting.
- Visibility: Public is already chosen. Choose Private to keep the work to yourself.
- Publishing scope: Original is a work published only on MYMI. If you'll post it on other platforms too, choose General.
- Monetization limits: Choose Limited if the rights aren't yours, like a derivative work that uses another work's characters or setting. The example is No limits.
- Image source: Choose Made with MYMI for images you made in MYMI, or Made elsewhere for images you made with another AI or drew by hand.
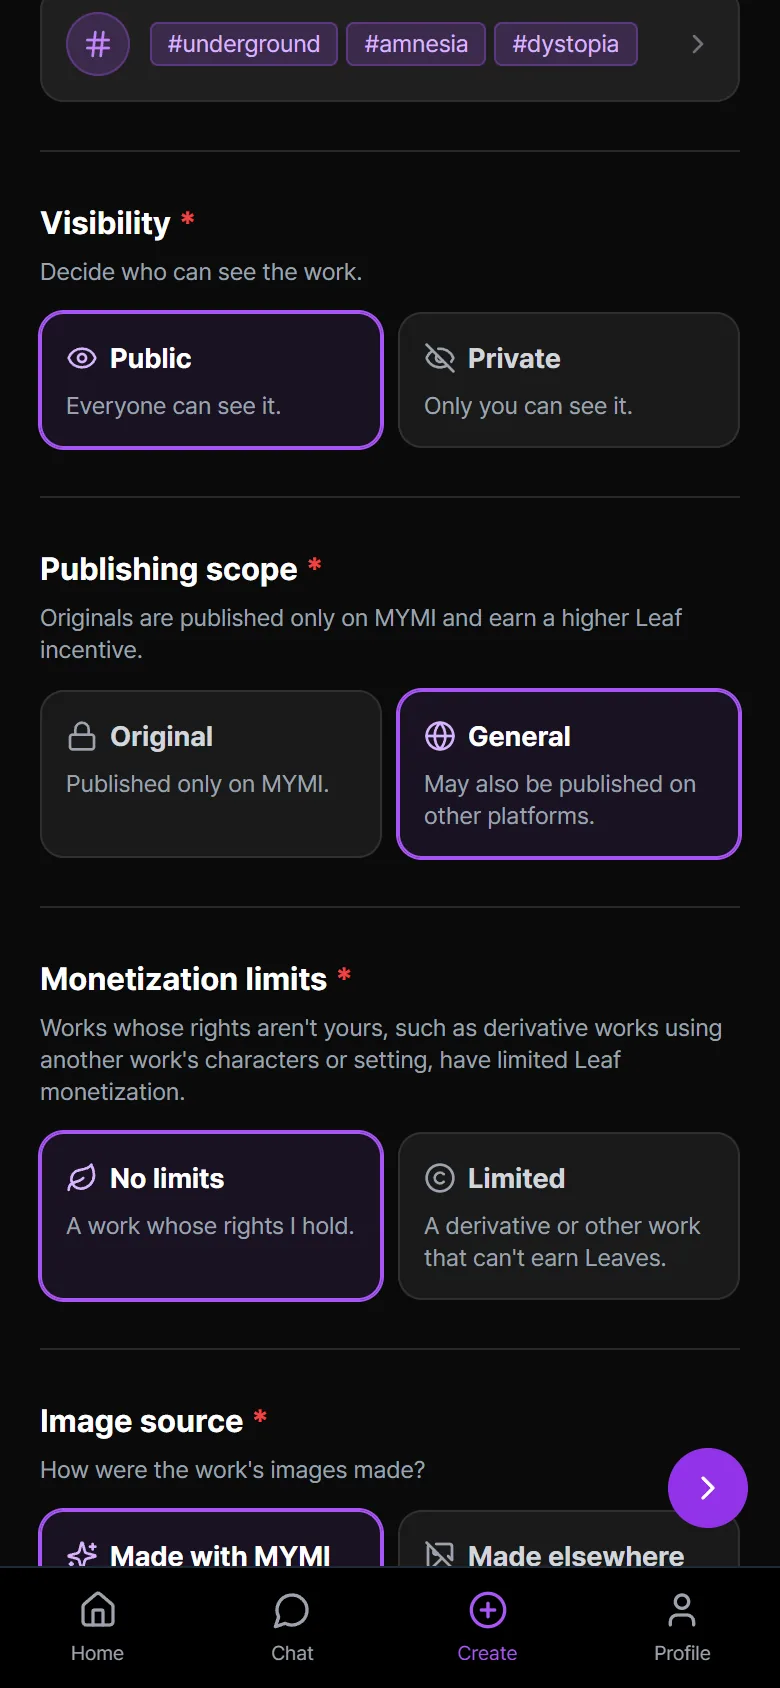
- Image Output Instructions: Internal Images is already chosen. Leave it, since you use the images uploaded in the Assets step.
- Audience: Choose who the work is mainly for, For men or For women.
- Content rating: All ages is already chosen. Adults only is available only to users who have completed adult verification.
- Marketing consent: If you agree, MYMI may feature this work in ads and social media.
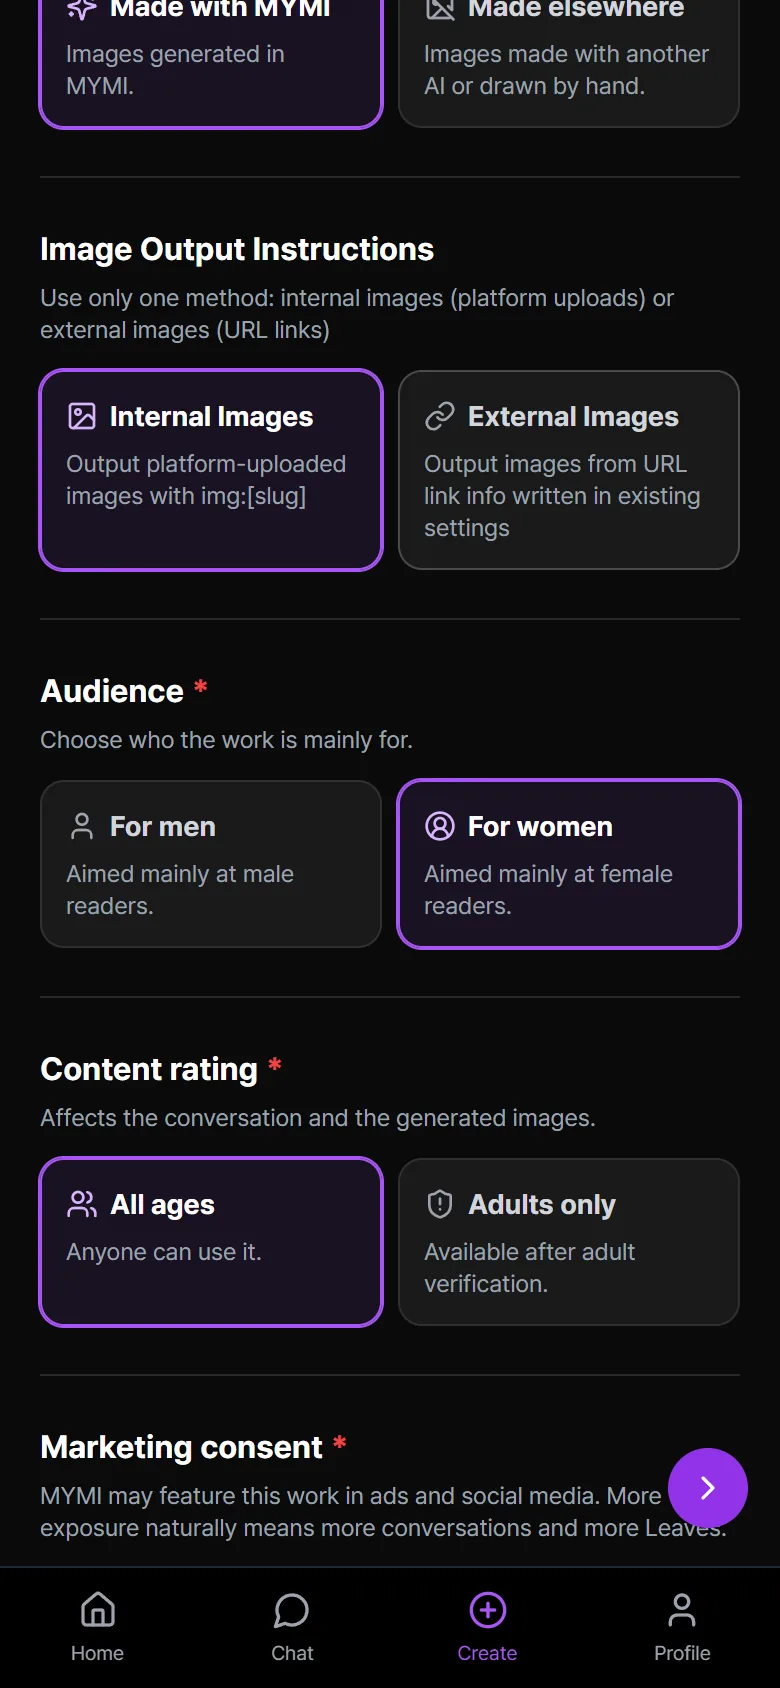
Choose your work settings explains what each choice means.
5. Skip the rest and finish
Lorebook, Components, and Optional are optional steps. Leave them empty for now and keep selecting the next button to the end.
On the last step, Optional, the button turns into Done. Select it and it checks every step again and makes the work. If something is missing, a message appears. Go back to that step as the message says, fill it in, and select Done again.
When everything is filled in, the Work complete screen opens.
- A work set to public shows Under Review. You can chat with it right now, and other users can see it once review is done.
- Select View work to chat with it right away. If you spot something to fix, select Edit in Manage works.
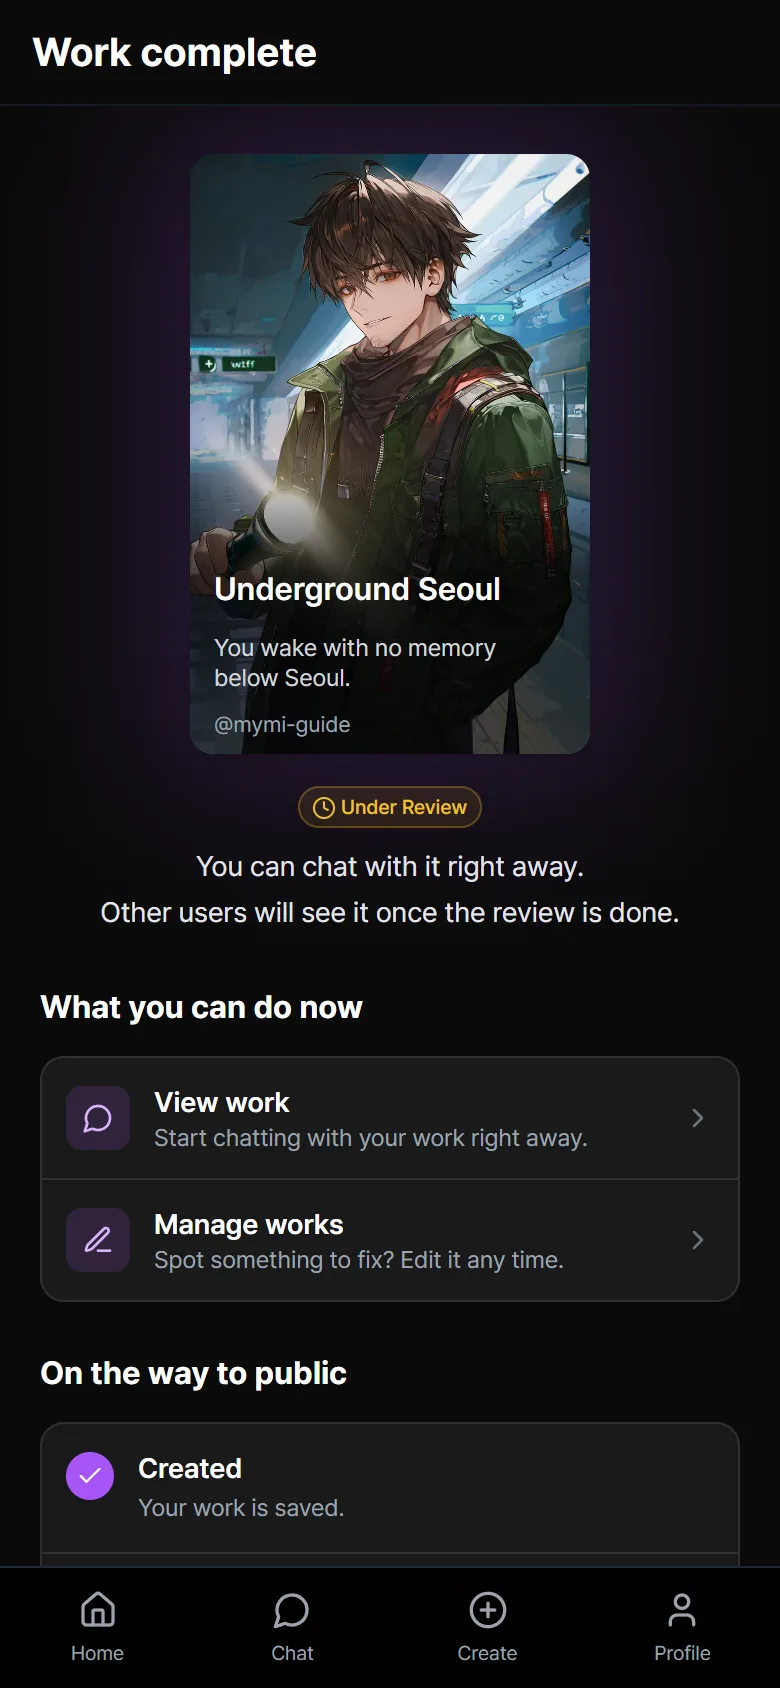
Review, going public, and Content Management are in Publish and edit.
If you get stuck
I selected Next and it says "Please enter an asset description."
Some image has no situation description. Select the image whose card shows Enter description in a red border at the bottom, write the description, and select Save.
It says "Please select a profile image."
Select the ★ at the top left of an image card to set the profile image. The first image you upload becomes it automatically, but a work made earlier, or one with no profile image set, needs you to set it yourself.
I wrote a hashtag but it says "Add at least one hashtag."
Writing it in the field isn't enough. Select Add so the tag shows in the sheet, then select Done to close the sheet.
It says "Choose the audience."
In Audience under Settings, choose For men or For women. It can be empty after you use AI Recommend in the hashtag sheet.
What I wrote in the story setting shows on the work page too
That's how it works. If you haven't written a description, the work page shows the story setting and the character descriptions as they are. Move any setting you need to hide from users to the Secrets field.
Where do I open the work again?
Select Edit in Profile → Content Management. If you selected the next button even once, it's in Content Management as In progress. How to edit is in Edit a work.